
.gif)


4 Tips for Shooting Drop Dead Gorgeous Waterfalls
Waterfalls are a very popular subject for landscape photographers. The draw to their natural beauty is clear, but sometimes coming home with the best shots is harder than you might think. As the curator for the Google+ Photography theme, #WaterfallWednesday I get asked how to take better pictures of waterfalls every week. So let me share some tips with you.

The first thing most people suggest you need in order to shoot waterfalls is a complete quiver of neutral density (ND) filters to get a long exposure. Forget that! Let’s start with a camera that can shoot on manual and a tripod. That’s all you need. The biggest problem with slapping a dark ND filter on your lens is still the sun. When it’s bright overhead, you have bright “hot spots” and dark shadows that don’t look great. The light is harsh and flat. The best thing to do is show up at sunrise and sunset. Waterfalls are often in deep canyons, so as long as the sun is behind the mountains with the whole waterfall in the shade, you can achieve a long exposure with nice even light. In fact, you can plan ahead to maximize this. If you think about it, if the waterfall you’re wanting to shoot is facing east, sunrise would not be the best time of day because it will catch the light right on the falls. So an east facing waterfall will be best shot in the late afternoon.
How long does the exposure actually need to be? I think the answer varies like people’s taste in fast food. Personally I categorize waterfalls into two different categories. There are the falls that rage with so much water they take your breath away. The others are dainty and delicate. So keeping in mind I don’t want the waterfall to be a detail-less blob of white water, you need to set the exposure appropriately.
On Manual, I usually start with the slowest ISO my camera can go, 100. Then I set my aperture small enough to maximize focus, usually around f/8 to f/10. Then I see what kinds of shutter speeds that nets.
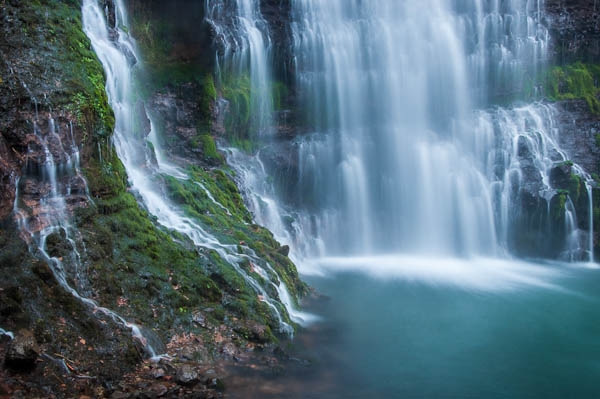
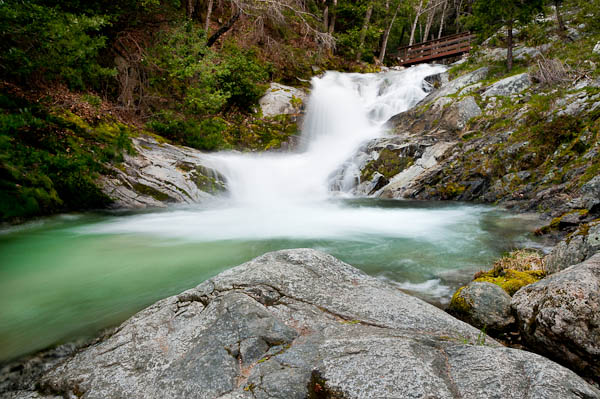
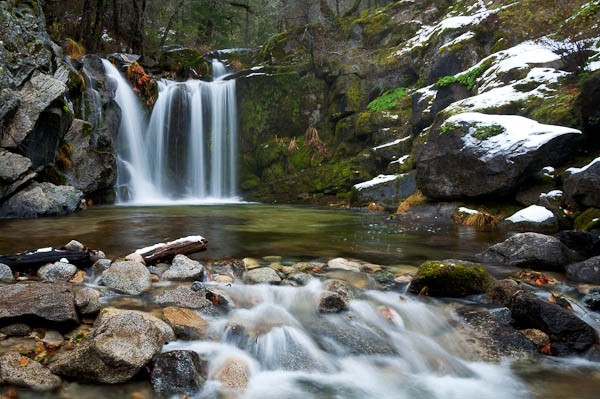
For the big falls, I try to keep my exposure under a second. Anything between ¼ to a full second will show the water’s motion and still retain all the detail in that movement.
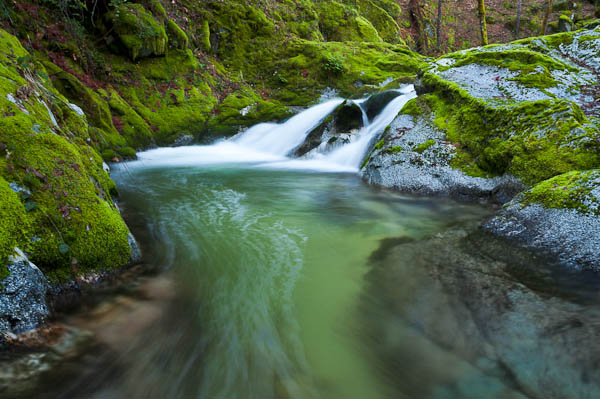
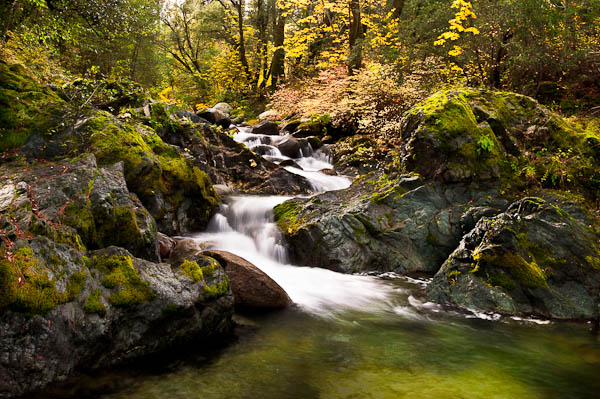
Small stringy waterfalls just love putting on a show with longer exposures. These shots look great when you can go as long as possible. Don’t be afraid of the small aperture police who say you will lose sharpness. Photography is always about compromises and in this case, the slightest loss in sharpness only visible when viewed at 200% is greatly outweighed by capturing the water’s movement. Don’t be afraid to use f/22 if you need it. I try to shoot for exposures 1-4 seconds long at these kinds of waterfalls.
Have you ever tried to shoot a waterfall with a long exposure and noticed that the leaves on the trees and plants move with just the slightest breeze? You’ve probably seen people take a bracket of a landscape to compress the dynamic range of light into a single image. We can do the same thing here, only we’re compressing time. After you’ve bagged your shot of the waterfall, look around the edges of the photograph and you see if the plants are soft and fuzzy. If they are, you have to play this mental gymnastics to switch into a sports mindset of shooting to freeze motion. You need something in the 1/100 or faster range. You can open up the aperture, but make sure you don’t loose your maximum focus. If that’s not enough light, you need to start boosting your ISO until you can achieve that shutter speed.
Back home, you take the two exposures and blend them back together using layer masks in Photoshop. I’ll save that topic for another blog post.
4. Head out when it’s cloudy
One way you can buy yourself some more camera time is to hike on overcast rainy days. You get all the benefits of shooting when the sun is low, with the freedom to shoot all day. I also find you get much better color when it’s overcast so things like mossy rocks or autumn leaves really pop.
One pitfall you need to avoid on cloudy days is including the sky. Depending on the waterfall, if you can get up high to shoot down on the falls, eliminating the sky from the shot, you will avoid getting a boring grey sky over your waterfall.