

.gif)


Four Ways to Improve Your Photos With the Clarity Slider in Lightroom
This photo is ideal to demonstrate the difference:
Now let’s see what happens when we set the Contrast slider, and then the Clarity slider, to their maximum settings of +100:
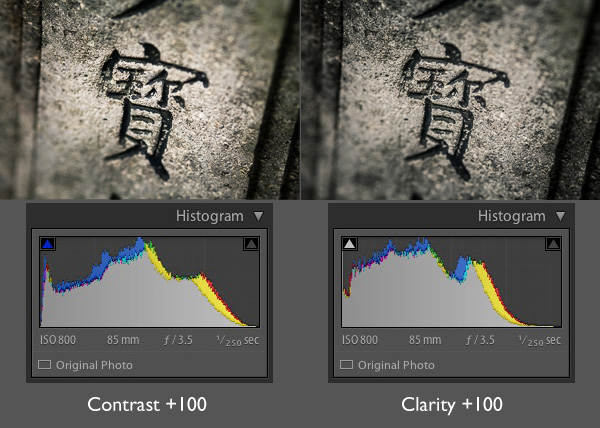
The Clarity slider works differently. It increases contrast, but in the mid-tones only. The highlights aren’t affected, and if anything the photo becomes darker as the Clarity slider has a greater effect on dark tones than the Contrast slider.
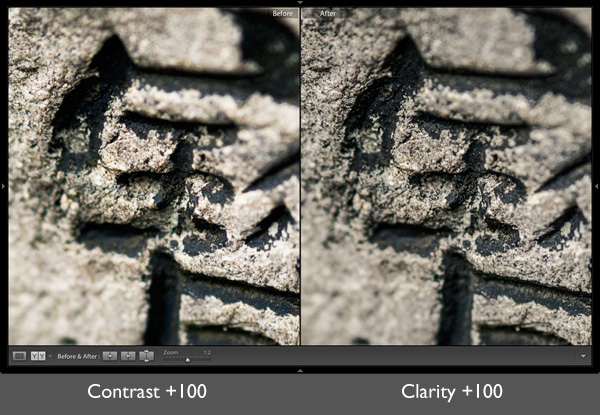
Here’s a close-up of both images so you can see the effect in more detail. Look closely and you’ll see that the Clarity slider brings out more texture than increasing Contrast.
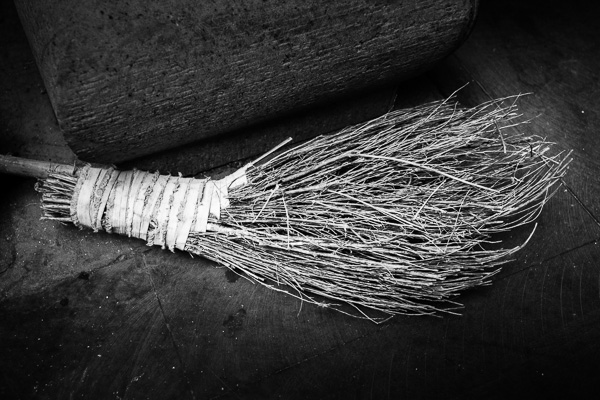
1. Emphasizing texture
The Clarity slider in the Basic panel is a global adjustment – meaning that, moving this slider affects the entire image. A small but subtle boost to Clarity can lift just about any image. Photos with more texture, such as the one below, may benefit from a larger increase in Clarity to bring out the texture and detail. This technique is especially effective in black and white. Plus, there’s nothing to stop you increasing contrast as well, especially in black and white, which usually benefits from higher contrast than colour images.

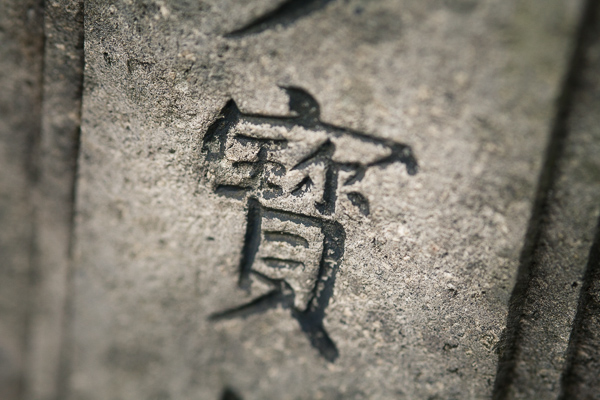
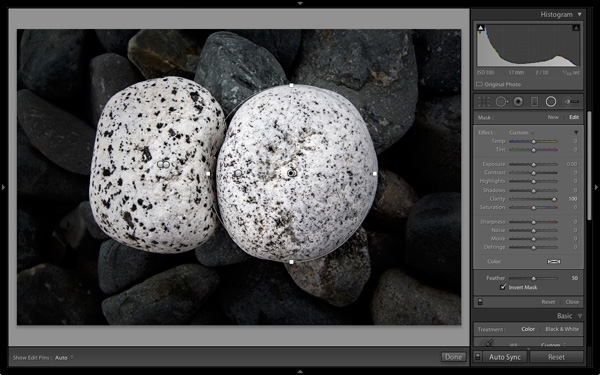
There is a theory in photography called visual mass that states that certain elements pull the viewer’s eye more than others (you read more about it in my article Composition, Balance and Visual Mass). One of these elements is sharpness. The eye goes to sharp parts of the image before it goes to unsharp, or out of focus areas.
You can use this to your advantage by making local adjustments to Clarity rather than global ones. In the example below, I wanted the white stones to be the centre of attention. The principle of tonal contrast ensures that they are, and I emphasixed it here by placing Radial filters over the stones and setting Contrast to +100 in each one.
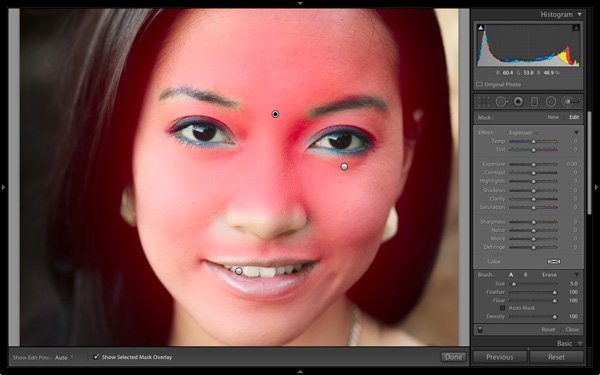
3. Emphasize the eyes in a portrait
There’s another area where increasing Clarity locally can make a huge difference and that’s in portraiture. Use either the Radial filter or Adjustment Brush to increase the Clarity of your model’s eyes. Again, it’s a subtle, but often effective change. You can also do the same with your model’s mouth to emphasize the lips. Remember that as Clarity tends to make things darker, you’ll probably need to increase Exposure a little as well.

So far we’ve just looked at what happens when you increase Clarity, but you can also go the opposite way and decrease it in order to obscure detail, or soften part of the photo. You do have to be careful with this as the result can look a little false. A light touch is essential.
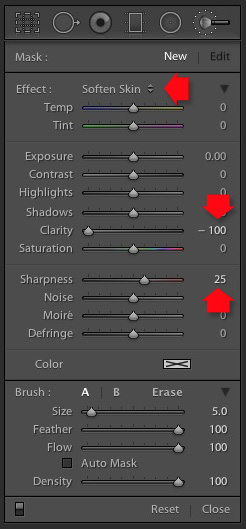
You can use negative Clarity as a kind soft focus effect in portraits. The most effective way is to increase Sharpness at the same time that you decrease Clarity. This helps retain realistic looking texture in the skin and avoids the false effect I spoke of earlier.
Lightroom has a built-in Adjustment Brush preset called Soften Skin which does exactly that. You can see the effect here. It’s subtle, look at the area under the model’s eyes if you’re not sure what the difference is:

Your turn
How do you use the Clarity slider? I’m curious to see what applications you have come up with for it.
Let us know in the comments, and feel free to share your photos so we can see what you have done.
