

.gif)


How to add frames to photos in Photoshop
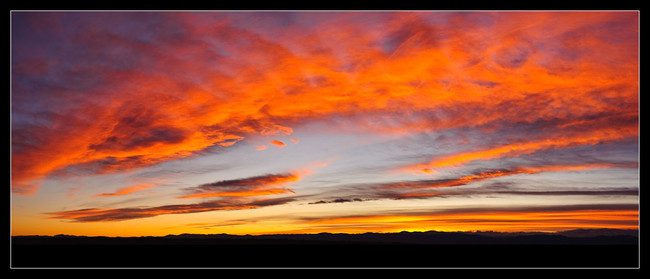
I have been experimenting with frames in Photoshop lately and decided to post a quick tutorial or howto on adding frames to your photos very quickly. Although there are many ways to frame images, this method works for me and is very simple and straightforward. Here is how I create a photo frame:
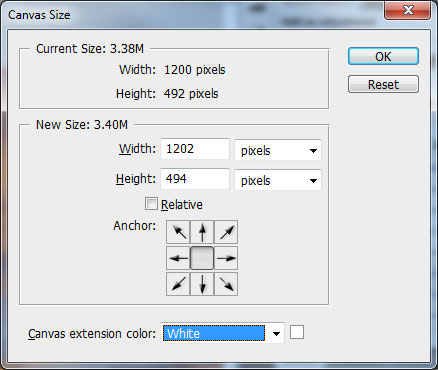
1) Open your image in Photoshop. Make sure that the image contains no layers. If you have any layers, simply go to Layer->Flatten Image to get rid of all layers. Next, go to Image->Canvas Size. We will first create the outer frame of the picture, which will be 1 pixel wide all around the picture and in solid white color. Take the initial size of your picture and add 2 to both width and height – in this case, the original image dimensions were 1200×492. On the bottom of the screen where it says “Canvas extension color:”, select “White” from the drop-down, then click “OK”:
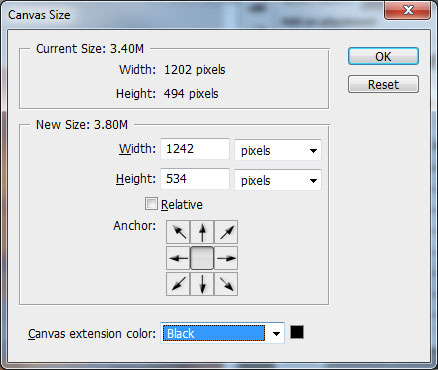
Obviously, you can experiment with different widths and colors for your photographs. Here is another version with the colors reversed:
Just bear in mind that you will always have to add an even number to both width and height, since the number of pixels have to be divided equally from top to bottom and from left to right.
