
.gif)


How to Find and Use Scripts in Gimp
When I first started using Gimp to edit my photos (because I couldn’t afford Photoshop), I remember getting jealous when Photoshop users would talk about the Actions they used to edit their photos.
While Gimp doesn’t have Actions, they do have scripts, and while there might not be as many Gimp Scripts as there are Photoshop Actions available, there are certainly enough to keep you busy for a while.
Finding Scripts
You can find the Gimp Plugin registry here. This site contains scripts and plugins. Plugins increase the fuctionality of Gimp somehow (like the ability to support RAW files), and scripts are like Photoshop actions – ways to manipulate the photos you are editing. On the right hand side is a Keyword search. Here you can search for the type of thing you’re looking for. Want to add a watermark to all your photos? Search for Watermark. Want to make a vintage-looking photo? Search for vintage.

Installing Scripts
To install a script, first you need to figure out where they go on your computer. This is going to depend on your operating system, where you have Gimp installed, and what version of Gimp you’re using. To find out where they need to go, open up Gimp and go to Edit –> Preferences then scroll down to Folders –> Scripts, and it will show you at least one folder to put scripts in:

Once you have the script downloaded, be sure it’s in the folder location described above. If you had gimp open when you put it there, you’ll have to refresh your scripts by going to Filters –> Script-Fu –> Refresh Scripts. If Gimp was closed when you put the script in the folder location, it should just show up the next time you start up Gimp.
It can be hard to find out where exactly the script went, though. Sometimes the author of the script will tell you in the description on the registry site, but not always. They will typically show up either in the Filters menu or the Script-Fu menu.
My Script Recommendations
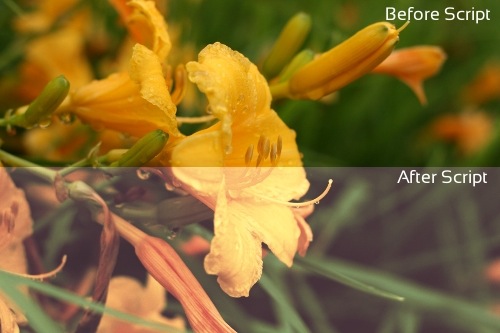
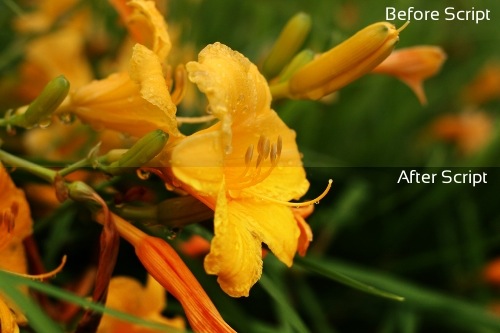
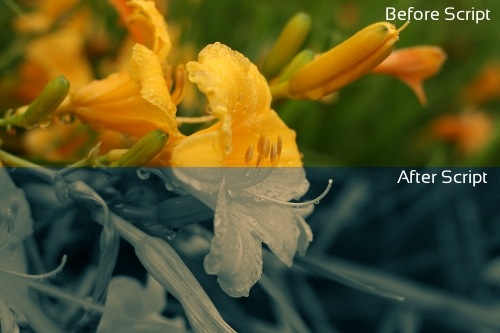
The first script I’d suggest downloading is actually a whole pack of scripts in a zip file (so you’ll have to extract it to the folder location) and is called Fx-Foundry. It contains a lot of scripts that are probably more appropriate for graphics design than photo editing, but they do have an entire section of Photo editing scripts including lomo, cross-processed and vintage film. Here’s the vintage film one in action: