How to Stack Two Vertical Images in Photoshop
While Nasim is working on posting another big article on how to create a photography blog, I decided to jump in and write a quick tutorial on how to stack two vertical images in Photoshop, also known as “diptych”. I hope those of you, who already have a blog or will be creating one soon will find my tutorial useful. The below technique surely did save me from some hassle and headache!
Posting vertical images to a blog can get frustrating. While dealing with horizontal images is easy, vertical images either take up too much space (if you extract them with the same dimensions as horizontal images) or take less space and require proper alignment. To deal with this problem, I came up with a very simple way to stack images, which keeps our blog clean and allows me to create a storyline with two vertical images side by side.
I first start with extracting two images out of Lightroom with certain dimensions. The dimensions will obviously depend on how big you want your images to be when your clients and visitors view your images. For our site, we typically export horizontal images at 1024 pixels wide and the “medium” size image (the one you normally see when the page opens and the one you click on to bring up a larger image) is around 650 pixels wide. The medium version of the image is automatically created by WordPress, so I only export images from Lightroom and Photoshop at around 1024 pixel width resolution. Therefore, the stacked vertical images also should be no bigger than 1024 pixels wide. That means that I have to extract vertical images at approximately half their width. So what I do, is I just round up the numbers and extract two images with a width of 500 pixels. If you use Lightroom, set the dimensions to 500×1000 (500 horizontal, 1000 vertical) – Lightroom will automatically set the correct vertical size, but limit the horizontal width to only 500 pixels, which is what we want. I leave a couple of pixels in between images to separate them out, so the final image is going to be around 1002 pixels wide. If you want to provide bigger images, say 1200 pixel wide, then extract two vertical images and limit the width to 600 pixels in Lightroom.
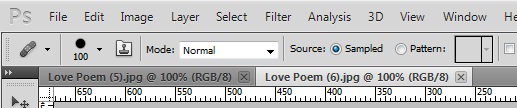
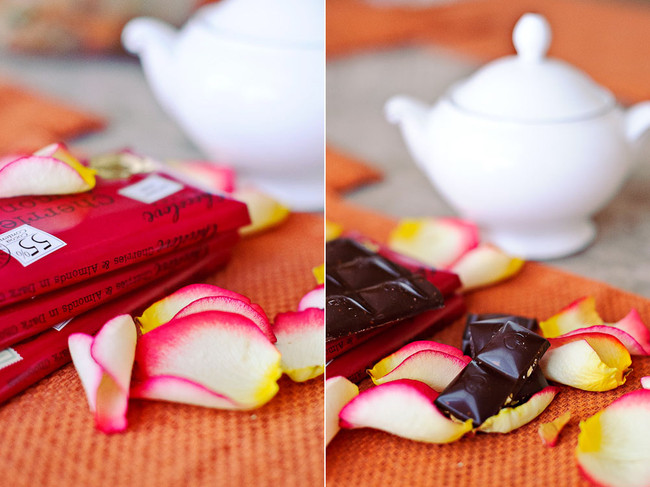
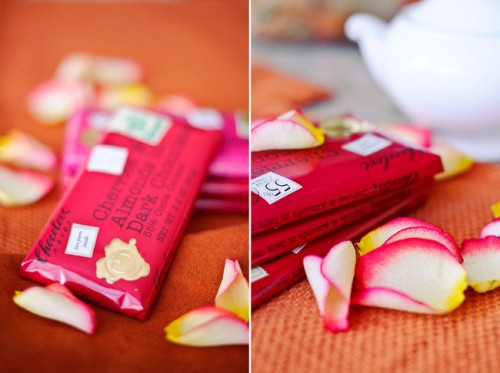
Once I have the vertical images I want to place side by side, I open them both in Photoshop:
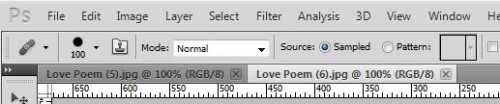
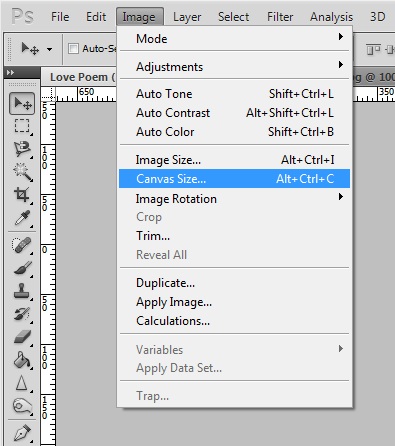
So, what I have here is two files – Love Poem (5) and Love Poem (6). The next step is to expand the canvas. Start working on the image you want to see on the left side. On the top menu bar, go to Image, then click Canvas Size as shown below:
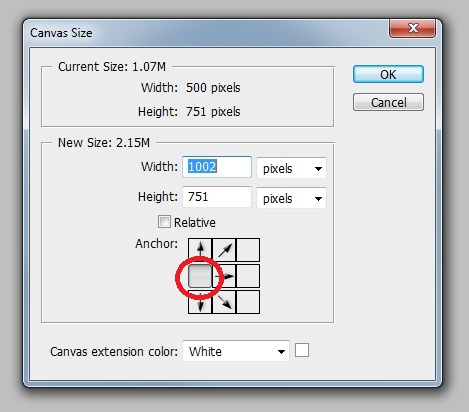
What you will see next is the box below. There are three values that you need to fill out in this pop up box. Let’s go over it:
The top portion will show the current size of the image and the bottom portion gives us the ability to specify the new desired size. How do we calculate the correct size for the Canvas? If the current width of this vertical image is 500 pixels and my second image is also 500 pixels wide, then 1000 pixels should suffice right? Yes, but you do not want the two images to blend into each other, so a couple of pixels should be left in between. I go for two more pixels, so I specify 1002 as the new width. Since the height remains the same, I do not touch it.
The next step is to make sure that you pick the right Anchor. Once the image has bigger dimensions, you want to make sure that the image we have there stays on the left, not the middle of the image. Therefore, we click the left arrow, which will force the image to be on the left, with plenty of blank space on the right for the second image.
Most of the time I have the Canvas Extension set to white color, due to white colors that we have in our blog (plus white is an elegant color). If you have a background with a different color, you might want to try using your color instead.
Verify all the values, then click OK.
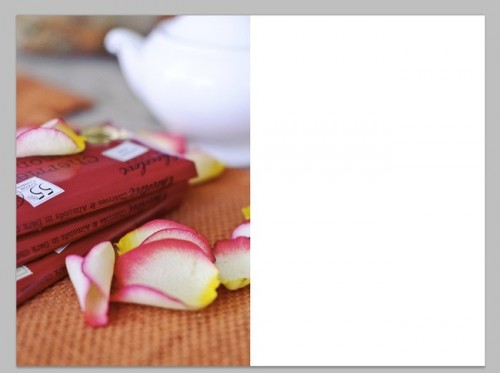
Here is what you should get after doing the above:
The next step is to place the second vertical image on the canvas you’ve expanded.
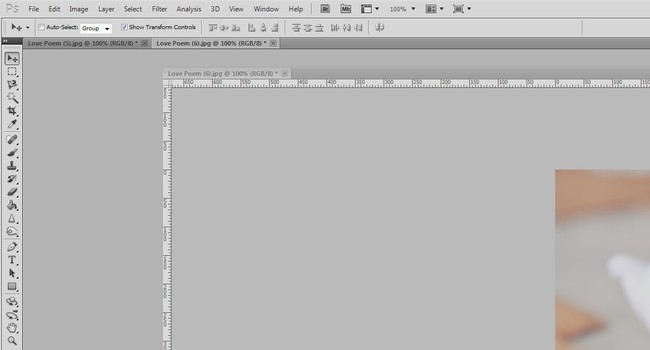
Select the Move Tool from the left side menu or press “V” on your keyboard:

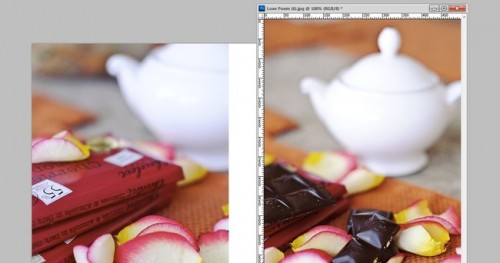
Now click on the title of the second image and drag it down a little, so that it is separated from the area where all images are stacked in Photoshop. We do this in order to be able to drag and drop the second image into the first one:

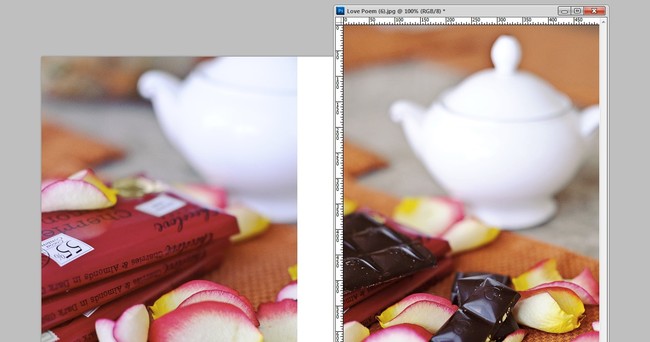
As you can see, the image window is moved out. Now using the same Move Tool, just drag and drop the second image into the first one with the larger canvas:
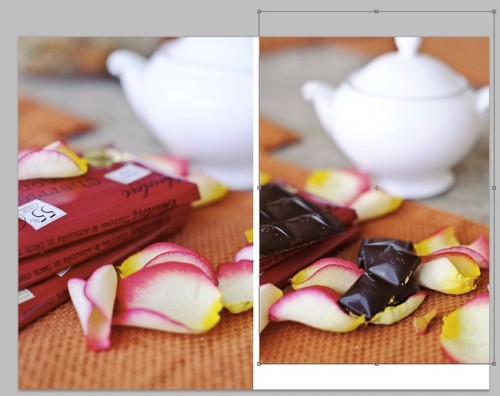
Now you should see both images on the same window. You can close out of your second window now. The second image is probably not properly aligned, so just use your mouse to move it to the right side. The space in between (2 extra pixels) should be visible when you move it all the way to the right.
The image is ready for export, so just use the “Save for Web” tool in the file menu and save the image as JPEG.

If you want more space between the vertical images, you can play with the image dimensions while expanding the canvas and use something like 4 pixels instead of 2.


.gif)